Showing posts with label Technique. Show all posts

Monday, October 20, 2014

MDSM87 .. Yapha's first sketch!


**We are running late with our Top Picks from last week's challenge so we will be announcing them next Sunday with this week's picks. **

Hi Everyone! Yapha here with my very first sketch for MDS Monday! I am super excited! I have a couple fun tricks I used on this page, that you are welcome to try as well. The first one is to change the size of the patterns when you fill a punch with patterned paper. 

Simply fill it, then double click on the shape, and you have the option to zoom in or out on the patterns by clicking the plus and minus. The second thing I did was to fill a group of photo boxes with one picture. Select the photo boxes you want to fill, group them together, then drag your photo on top. It makes for a great look! We can't wait to see how you choose to fill all of these little squares!


Challenge Guidelines:
  • Please create a new MDS project for the current challenge.
  • Provide a link back to MDS Monday or use the Challenge Graphic above within your post.
  • Link directly to your Post for this challenge, not your entire blog. (So we can find your project)
  • You can create a Card, Scrap Page or 3-D Object with the Sketch.
  • The Challenge will end on Saturday October 25th @ 12pm EST. 
  • Have fun! 
____________________________

Yapha

Beth Rush
Beth's Digital Cuts

Cindy Schuster 


Jeanna Bohanon


Heidi Baks
 RunningwScissorsStamper


Anita Krul
My Paper Chronicles


Tami Hewlett
Swimming In Stamps


Our October Guest Designer

Tanya Harvey


Monday, October 13, 2014

MDSM86... Let's try a Technique!


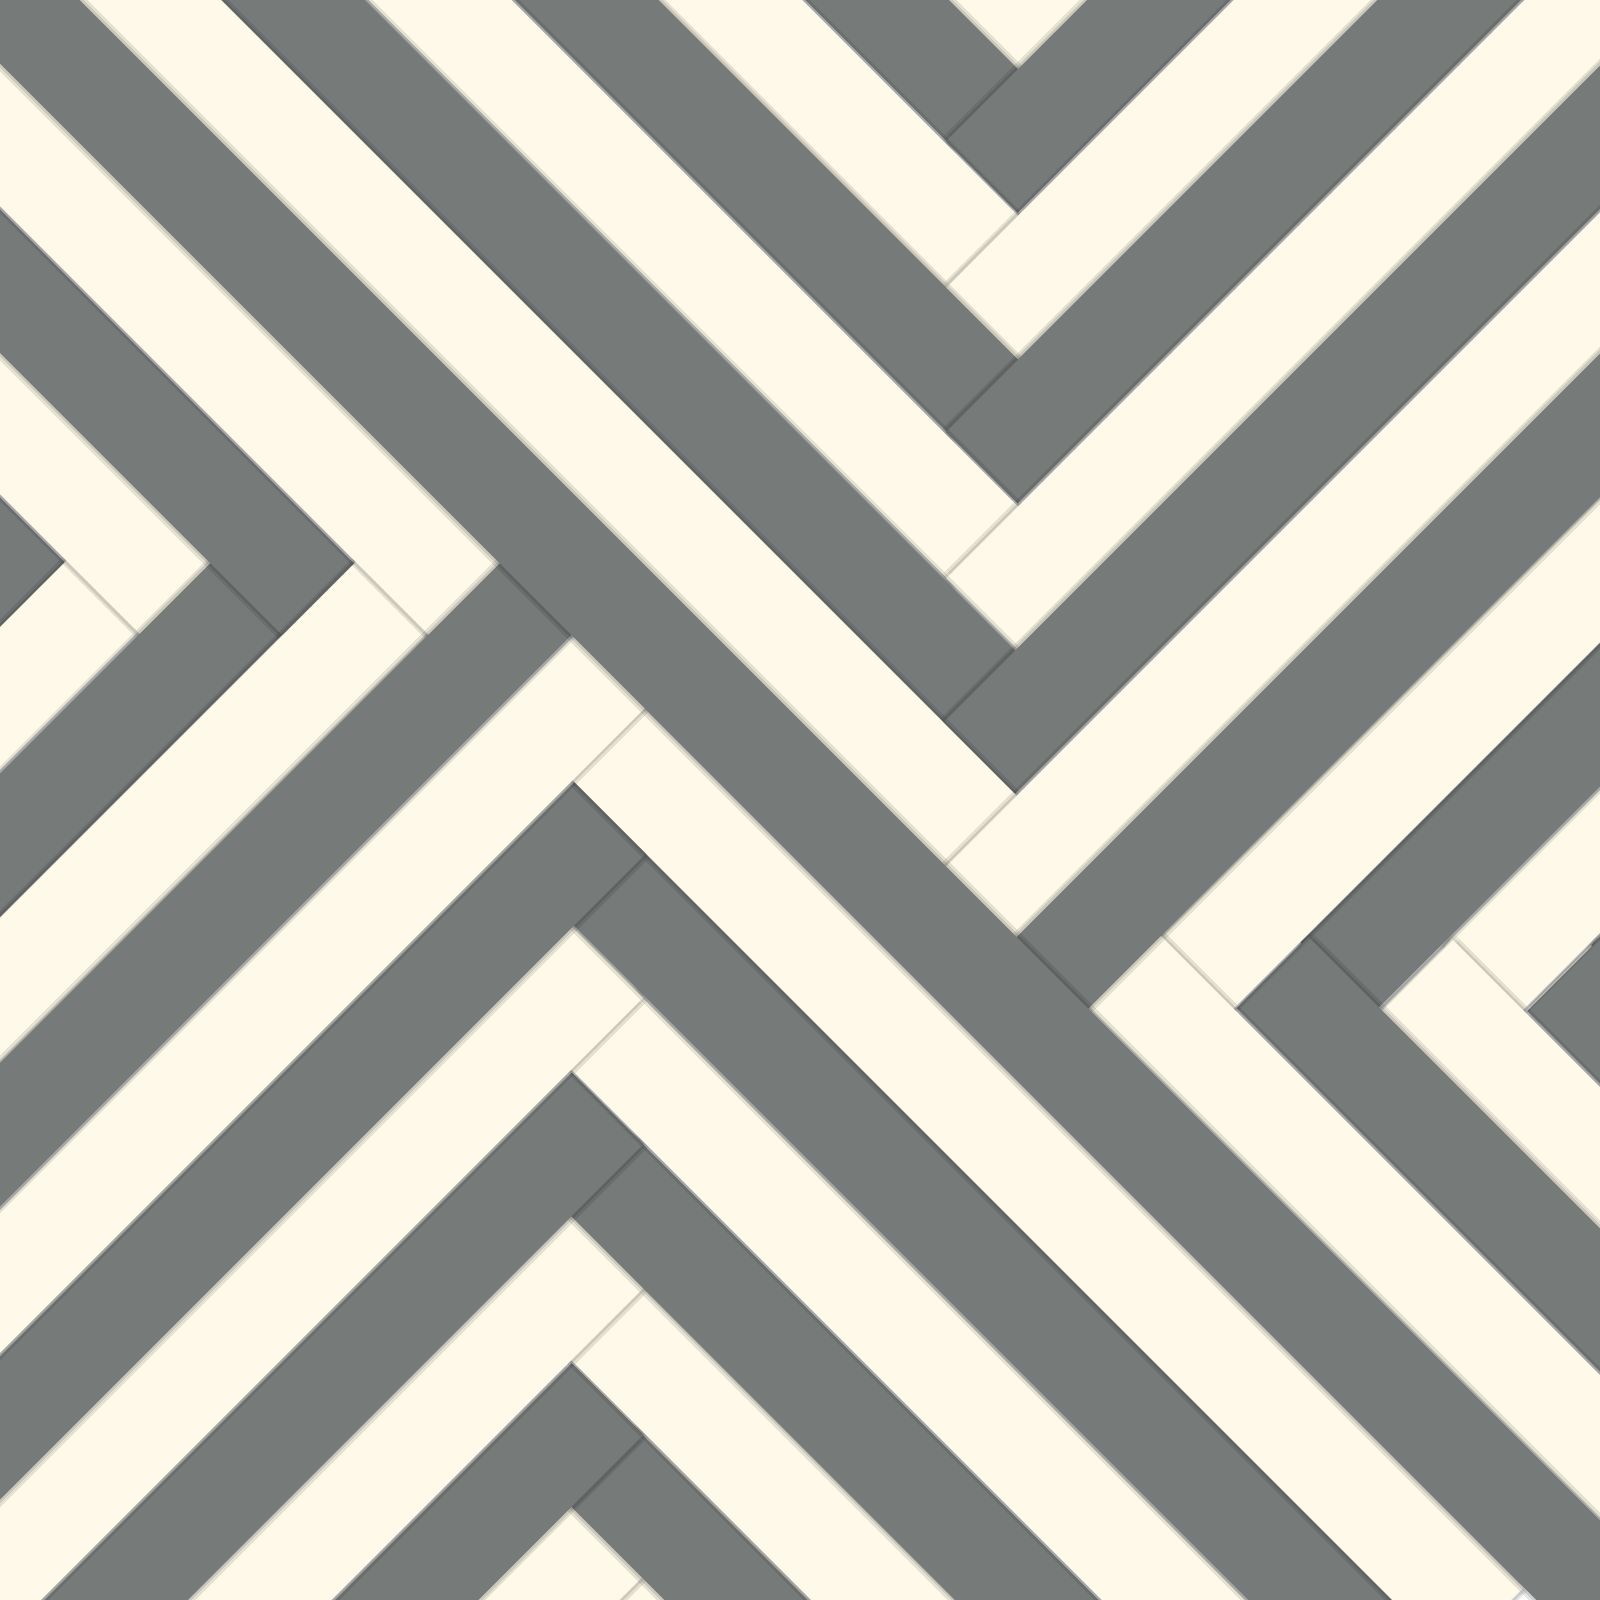
Hi Everyone!  It's Heidi.  I thought today we'd try a background technique that could be applied to a card or scrapbook page, the herringbone technique.  You can find a step-by-step video by Juanita Golson on mydigitalstudio.net.


A couple of hints -
  • I followed Juanita's method for one quadrant of the herringbone pattern.  I then grouped them together (without the first three main divider pieces) and copied and pasted for the other three quadrants.
  • I created the herringbone pattern on a separate page, exported as a JPEG, and then inserted into another page so that I could mat the layer neatly onto a background page base.
Here's a look at the herringbone pattern created on a separate page - 

Have fun trying a new technique, and I can't wait to see what you make!

Challenge Guidelines:
  • Please create a new MDS project for the current challenge.
  • Provide a link back to MDS Monday or use the Challenge Graphic above within your post.
  • Link directly to your Post for this challenge, not your entire blog. (So we can find your project)
  • You can create a Card, Scrap Page or 3-D Object with the Sketch.
  • The Challenge will end on Saturday October 11th @ 12pm EST. 
  • Have fun! 
____________________________


Heidi Baks
 RunningwScissorsStamper


Jeanna Bohanon


Tanya Harvey
Tanya's Stamps & Things


Tami Hewlett
Swimming In Stamps


Yapha Mason
Stamps & Scraps


Cindy Schuster 


Beth Rush


Anita Krul
My Paper Chronicles


Monday, May 12, 2014

MDSM66 Let's get in Shape!


It's Heidi, and I'm hosting this week's card challenge.  We're really interested in getting you more comfortable with My Digital Studio, so I'm going to issue a bit harder-than-usual challenge.  Hang with me; it'll be worth it!  My current hybrid card obsession is shaped cards.  There are lots of MDS shapes that can be used as a card base - a canning jar, an owl, a lava lamp, an oval, a hexagon, a pumpkin, a cupcake.  You get the idea.  If you need to brainstorm, start with punch shapes.  You can use stamp images as well.  Even custom punches would work.


Think you need an e-cutter to make a shaped card?  Nope!  Although feel free to use one.
  • Design and size your card base in My Digital Studio and print out on card stock.  With this method, make sure to create a mirror image of the card front for the back of the card base, and pay attention where your score line will land.  Then hand-cut your card base.
  • Keep in mind to preserve as much of the score line on your card base so your card is robust and doesn't fall apart.  
  • My favorite method, to avoid printing on card stock, is to design and size in MDS and print on copy paper.  Print only one of the shaped images, then after scoring the card base, temporarily adhere the copy paper to the card stock and trim the card stock and copy paper simultaneously.  Move the copy paper around before cutting to maximize the retained score line.
  • Repeat the process to embellish the card.  Design and print in MDS, followed by hand-cutting, or print or use the copy paper method for adding traditional Designer Series Paper.
Here's a video of how to create a shaped card from My Digital Studio, as it was happening.  :)


And in case you are interested, here's an example of how to make a shaped card using Silhouette Studio.


Be sure to read the guidelines above under "About MDS Monday".

Check out what the Design Team created below... We hope you will join in the Fun. The challenge is open until Friday May 23rd @ 11:55PM EST.

___________________________

Heidi Baks

Monday, March 31, 2014

MDSM60 Card Sketch!


Hi everyone! Beth here with a card sketch for you this week.  Use the sketch to create a card or page and use the "Recolor" tool on an embellishment on your project.  I can't wait to see what you come up with.


Be sure to read the Guidelines above under "About MDS Monday". 

The challenge will be open until Friday April 11th@11:55pm EST. Check out what the Design Team created below for some inspiration to get you started. 

______________________________


Beth Rush


Heidi Baks


Joan Jeffery


Tami Hewlett


Holly Endress


Cindy Schuster 


Tara Bourgoin


Monday, March 17, 2014

MDSM58 Change it up!


Welcome back to MDS Monday... it's Holly here and I have a fun new Sketch for you. I thought it'd be fun to use a technique with the challenge as well... we're changing the original color of the DSP. If you aren't familiar with this technique you can see a video tutorial on it here.


Be sure to read the Guidelines above under "About MDS Monday". 

We can't wait to see what you create with this fun technique and the Sketch. The challenge is open until Friday March 28th @ 11:55pm EST. Check out what the Design Team created below for some inspiration. 

____________________________


 Hollybeary Creations


Cindy Schuster


Tami Hewlett


Heidi Baks
 RunningwScissorsStamper


Joan Jeffery


Beth Rush
Beth's Digital Cuts


Tara Bourgoin


Monday, March 10, 2014

MDSM57 Fun with Filmstrips!


Hi, this is Tami with a new scrapbook challenge.  I thought it would be fun to create a scrapbook page with one or multiple filmstrips.  I recently built a filmstrip for a card I made, and it came out so cute, I thought it would be a fun element for a scrapbook page!  I built my filmstrip from the Candid Frames download, but right after I designed my template, Stampin' Up! released the On Film Kit, which would work perfectly with this challenge.  Because the photos are all groups together, this technique is great for using lots of photos on a page without making the page look too cluttered.


Be sure to read the Guidelines above under "About MDS Monday". 

I also made a quick video to explain how I built the filmstrip:


The challenge is open for 2 weeks so you have lots of time to join us.. We can't wait to see what you create with Filmstrips! In the meantime check out what the Design Team created below to help get you inspired! The Linky will close on Friday March 21st @ 11:55pm EST.

_____________________________________


Tami Hewlett


Heidi Baks
 RunningwScissorsStamper


Cindy Schuster


Joan Jeffery 


Beth Rush


Tara Bourgoin


Monday, September 9, 2013

MDSM31 It's all about the DSP!

Happy Monday, Everyone!  Heidi here, and I'm bringing you another page sketch.  Months back, there was a page on mydigitalstudio.net that won the bi-weekly challenge, created by Tracey Collier, and I just fell in love with the layout.  I thought it would be fun to recreate the page with your choice of coordinating digital papers.


This page is great practice with the Arrange > Align and Group functions.  Create the square punches and space them out and line them up as you like them, then group the boxes on the top or the bottom and rotate the whole group with your mouse by pulling on the corner of the group. 

Check out what the design team has come up with below, then show us what you can do!

Heidi Baks


Beth Rush


Tara Bourgoin


Joan Jeffery

Be Sure to read the Guidelines above under "About MDS Monday".